Working with Oracle HRMS Custom Form and Task Flows:
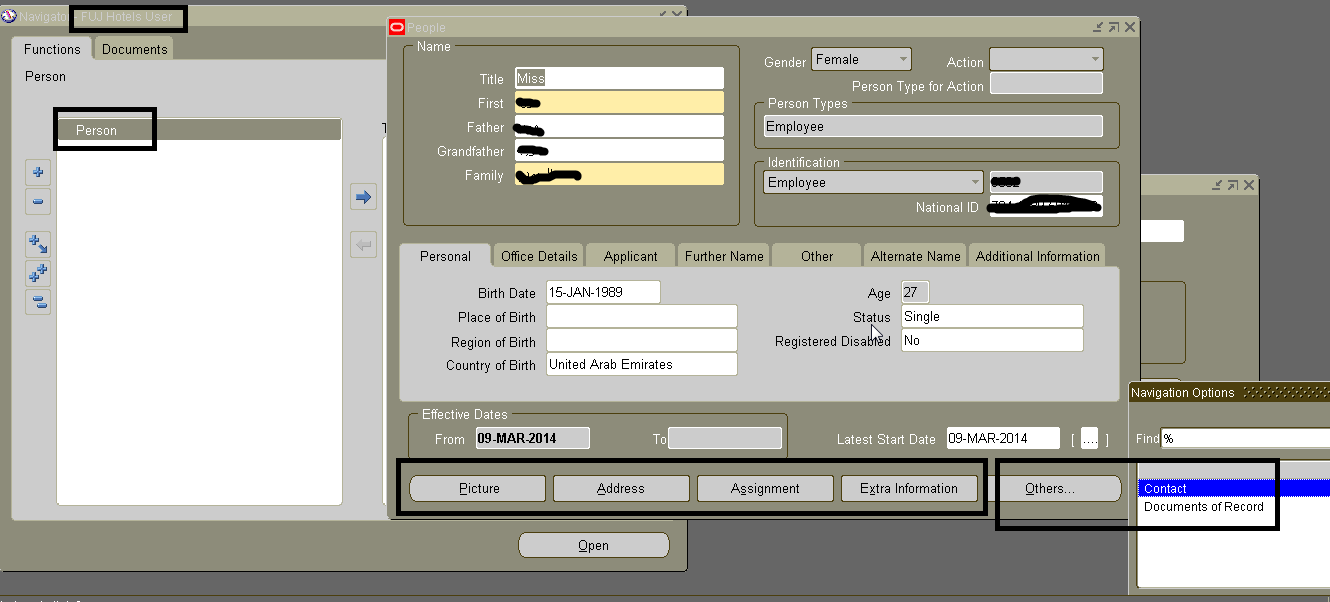
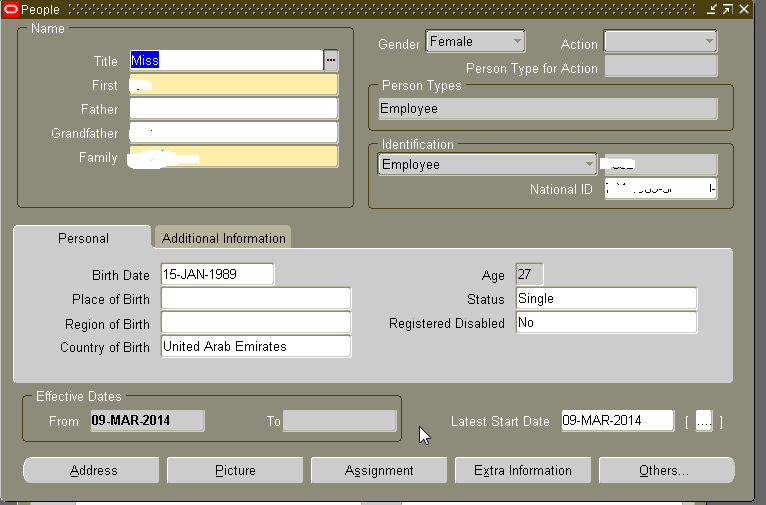
Requirement: To restrict People screen Form with below features only.
- Picture
- Address
- Assignment
- EIT
- Documents of Records
Steps:
1. Custom Form
2. Task Flow Nodes
3. Task Flow definition
4. Function
5. Menu
6. Responsibility with Above Menu
7. Add Resp to User
8. Create 2 new Organizations
9. Add above organizations under ur primary org hierarchy
10. Security profile with restricted
11. Profile option HR%Security Profile
12. Profile Option HR%User%Type
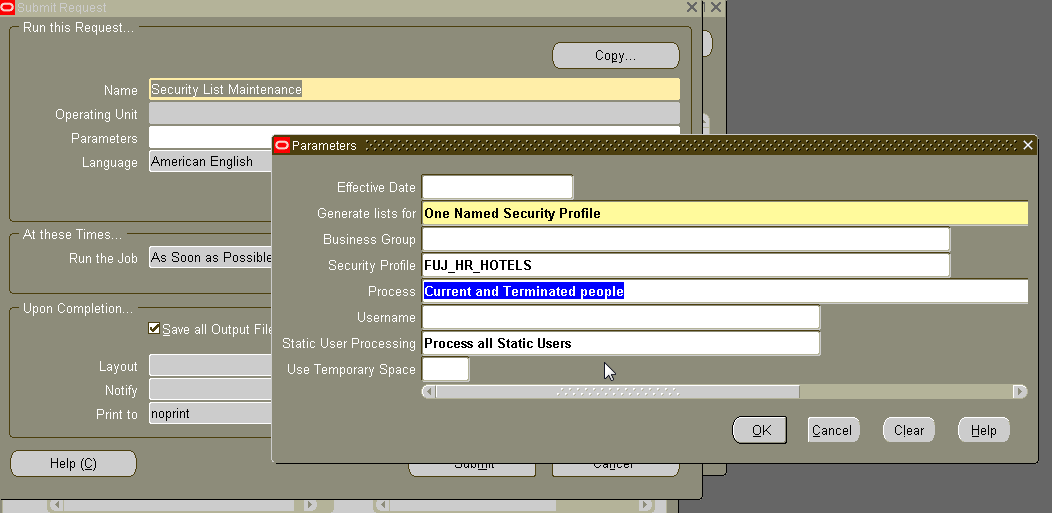
13. Run conc program 'Security Maintainance' for above security profile.
14. Hiding Tabs Personalization.
Details :
- Custom Form:
HRMS Manager Resp> Security> CustomForm
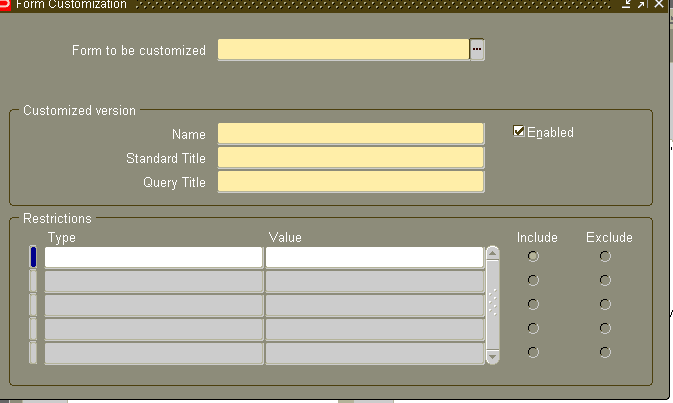

Custom Form: FUJ_HOTEL_PERSON
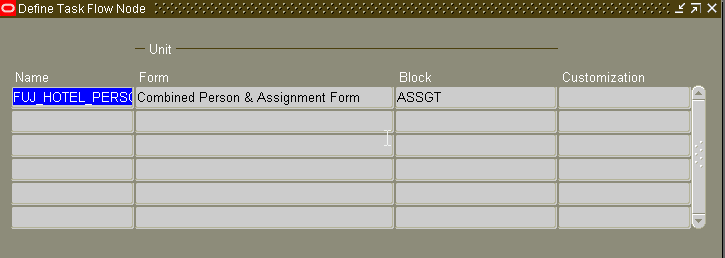
- Task Flow Nodes:
- Task Flow Definition:
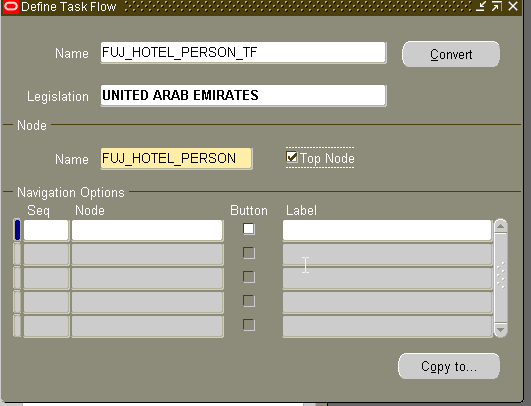
Add + button , by keeping cursor in the Name field of Node, do it for all the functions needed.
Once saved, go to your top node, then you can select the above functions in sequence.


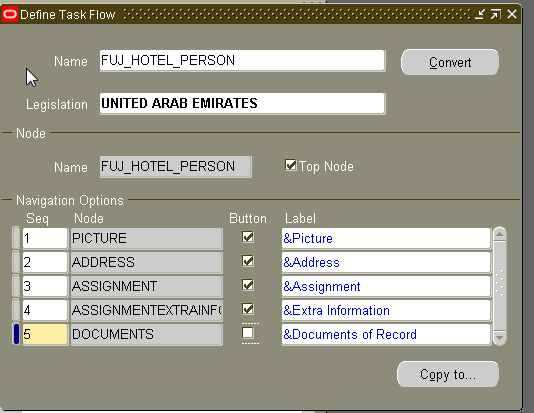
We can give max 5 buttons and no other functions.
Or we can give 4 buttons and rest will come in ‘Others’ Button.
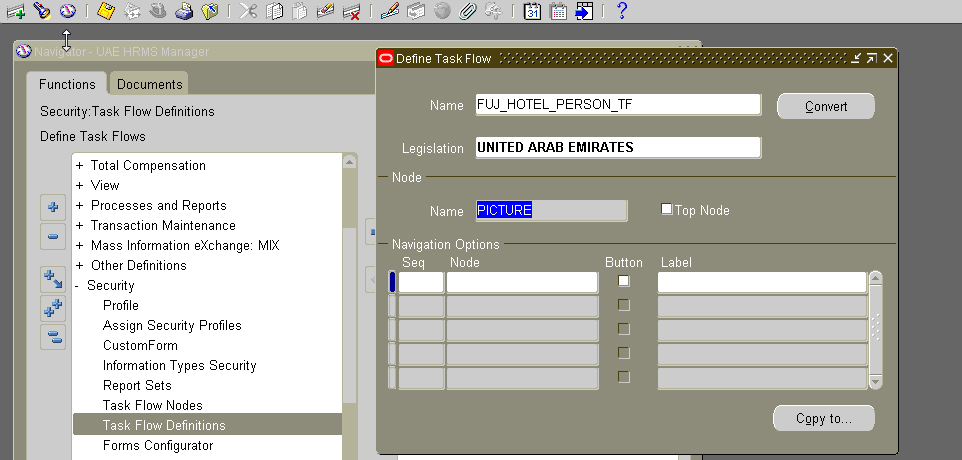
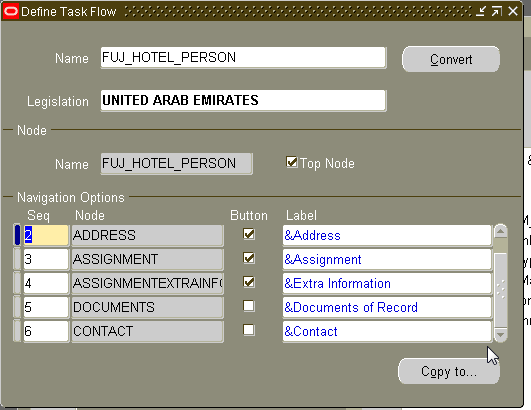
If its making difficult do the step 3, then just query the base task flow, click ‘Copy to’ and give ur custom name. Once given it will save automatically. Query your newly created Custom task flow.
Remove the nodes which you don’t want.
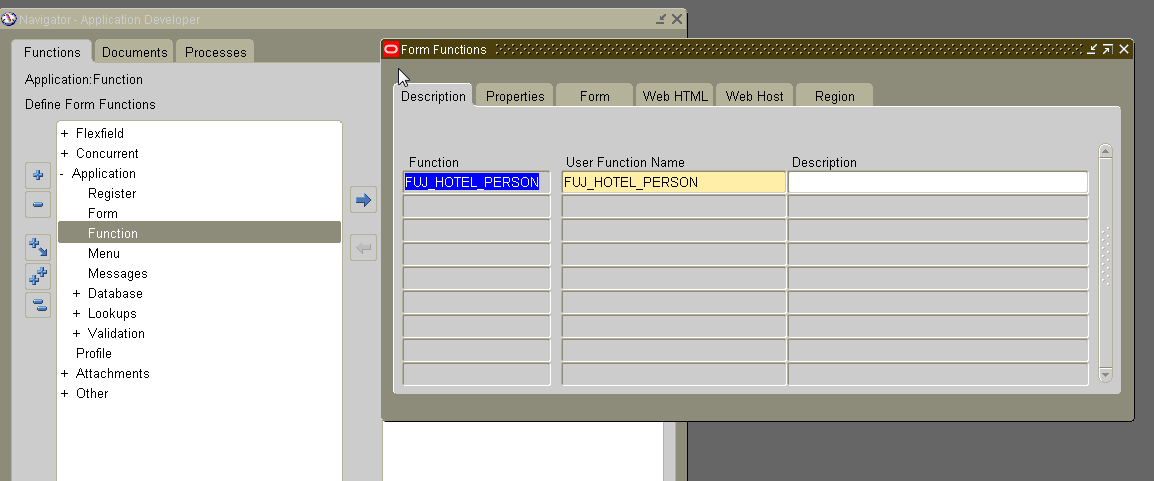
4. Function
Application developer> Application> Function>

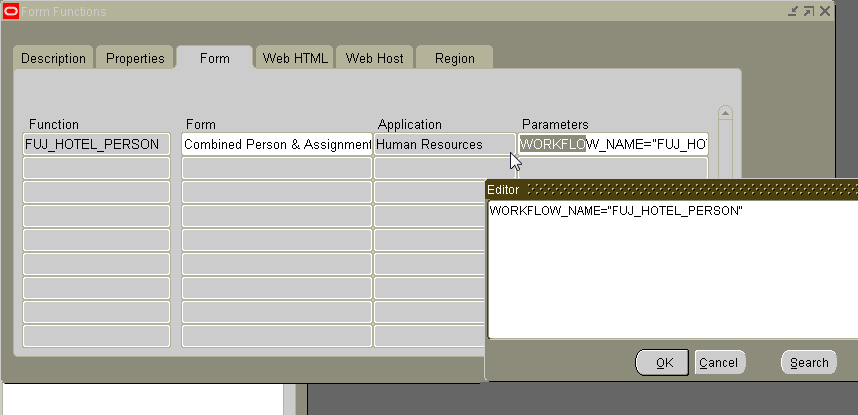
Be sure of WORKFLOW_NAME Above I created _TF for example only. Make your correct name here.
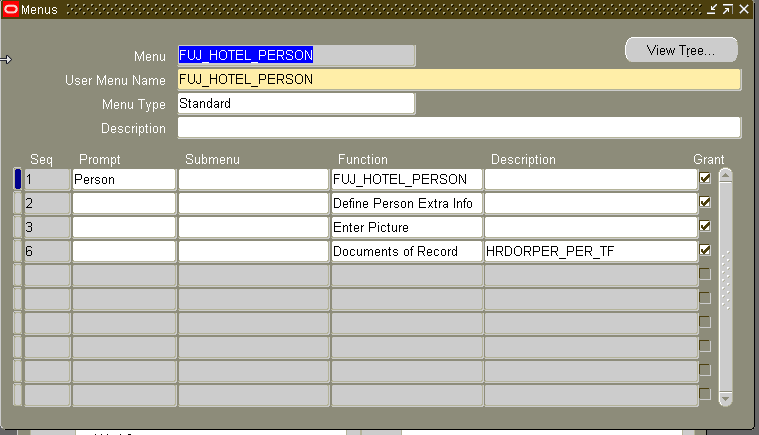
5. Menu
Application developer> Application>Menu
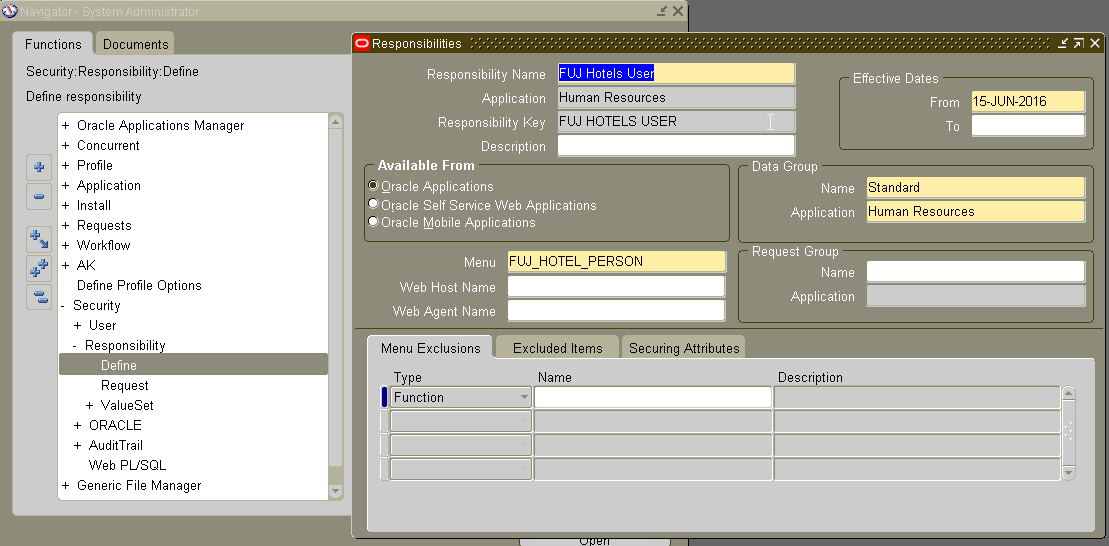
- Responsibility with Above Menu:
System Administrator> Security> Responsibility>
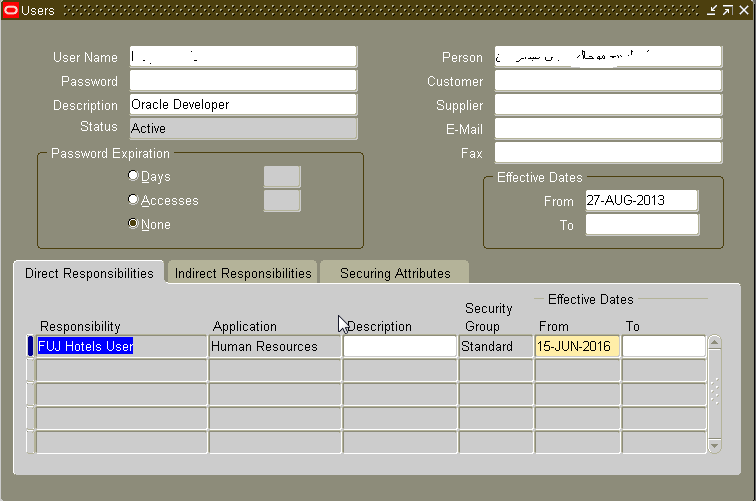
- Add Resp to User:
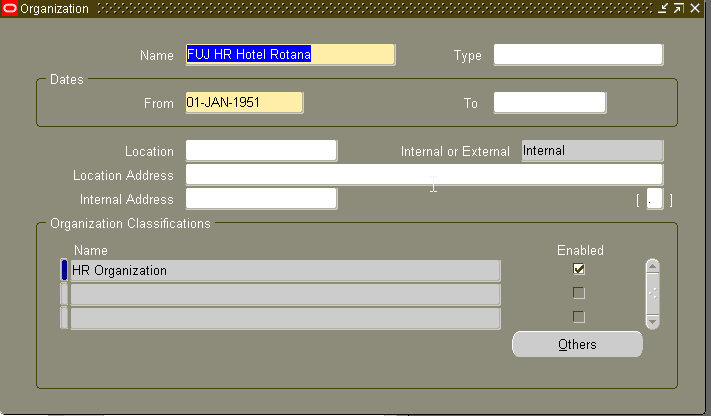
- Create 2 new Organizations:
HRMS Manager> Work Structures > Organization > Description

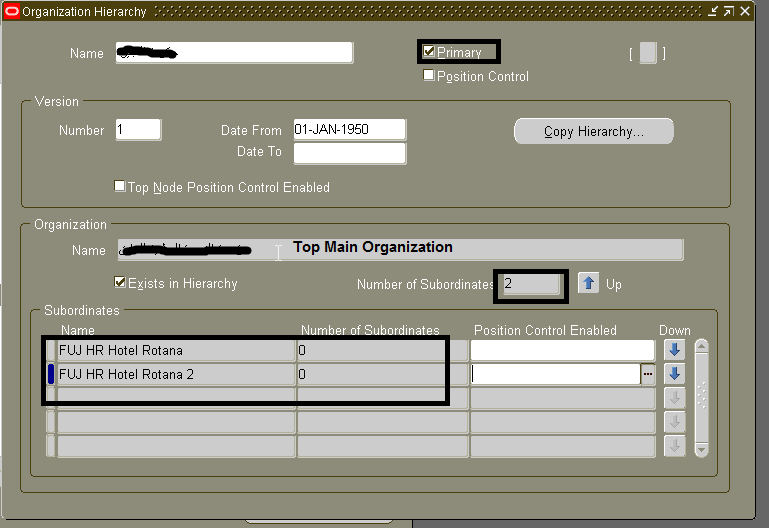
- Add above organizations under ur primary org hierarchy
HRMS Manager> Work Structures > Organization >Hierarchy
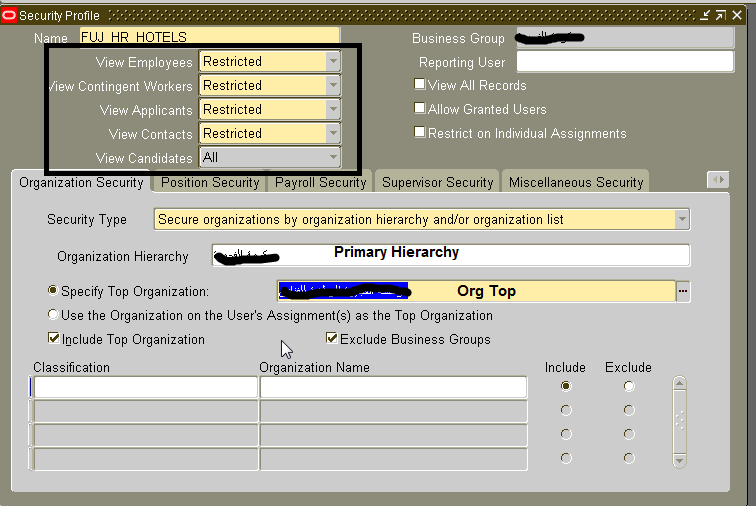
- Security profile with restricted:
HRMS Manager> Security > Profile
- Profile option HR%Security Profile
System Administrator> Profile> System


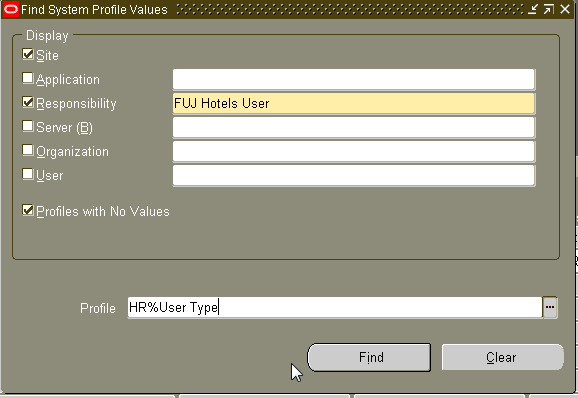
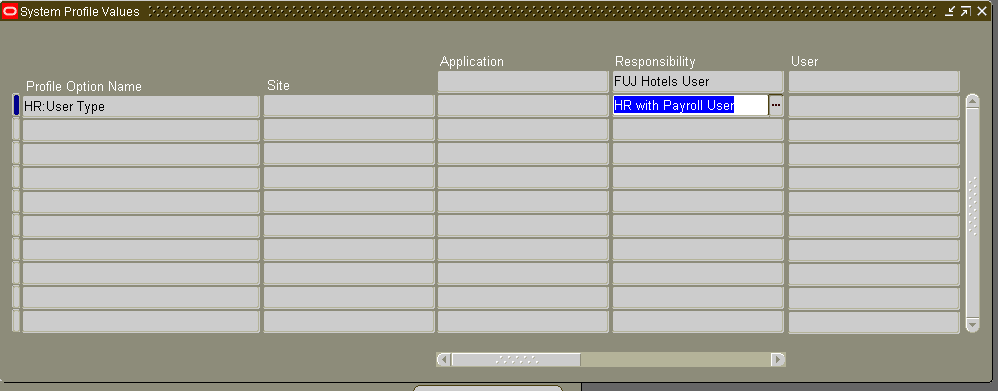
- Profile Option HR%User%Type
System Administrator> Profile> System
- Run conc program 'Security Maintainance' for above security profile.
Lets login with user and Resp:
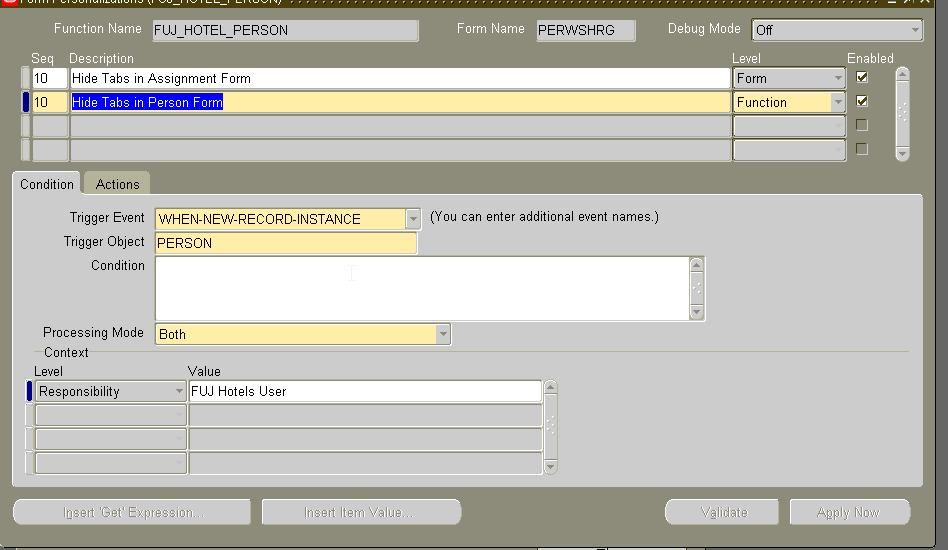
- Hiding Tabs Personalization

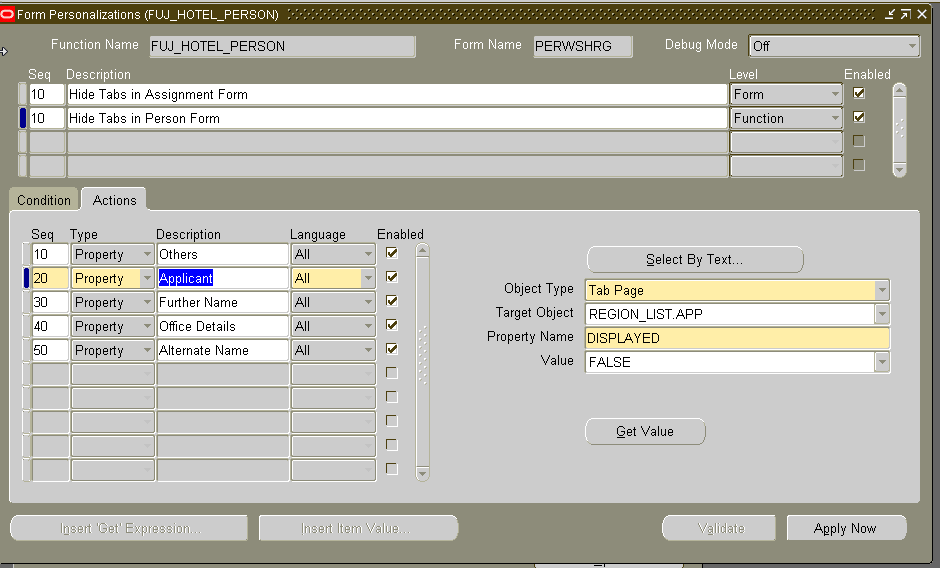
Further Name→ Target Object: REGION_LIST.FNM
Office Details→Target Object : REGION_LIST.LOC
Alternate Name→Target Object: REGION_LIST.LOC_PAGE1
Useful Points:
- If you change the Taskflow Nodes:
- Clear Cache → functional Administrator Resp> Core Services> Caching Framework> global configuration> Clear Cache> Apply
- If above point doesn’t work then Logout and Login to see the changes.
- If get the error when clicked the Documents of Records’ or ‘Picture’ as Function not available, pls add the functions in ur menu as shown in step 5.
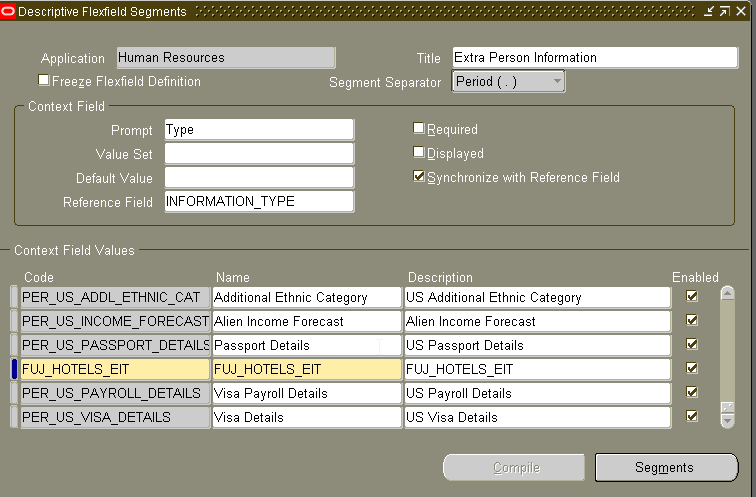
- Regarding EIT
- DFF
Human Resources>Extra Person Information
Create new Structure and add attributes> Save>Compile.

2. Run conc Program
Register Extra Information Types (EITs)
Parameters:
Table: PER_PEOPLE_INFO_TYPES
Information Type: FUJ_HOTELS_EIT --once registered will not show in the lov
Multiple Rows: Yes
3. Adding to Responsibilities.
HRMS>Security>Information types
Query your Resp in the Responsibility Name then
Add the EIT code under the Information Types Block. (Down)
I simply wanted to write down a quick word to say thanks to you for those wonderful tips and hints you are showing on this site.
ReplyDeleteSurya Informatics