Welcome (or) Sample Page Creation
Let us start OAF work with creation of First Sample Page.
To Create a page in Oracle Apps Framework (OAF) we need to follow six steps listed as:
i) Create .JWS ( Java Work Space )
ii) Create .JPR ( Java Project )
iii) Create BC4J for AM ( Application Module )
iv) Create AM ( Application Module ) in respective BC4J.
v) Create the page and attach to AM
vi) Give Window Title and Title name to the page.
Note that for R12 version no need to create BC4J separately it will be created automatically by JDeveloper. Let us develop our first page step wise.
Step 1: Open JDeveloper, after opening we will find Application Navigator if not then select it from View -> Application Navigator ( ctrl + shift + A ). Right click on Applications and then select New OA Workspace…, the same scenario is shown in the below figure:
Step 1: Open JDeveloper, after opening we will find Application Navigator if not then select it from View -> Application Navigator ( ctrl + shift + A ). Right click on Applications and then select New OA Workspace…, the same scenario is shown in the below figure:
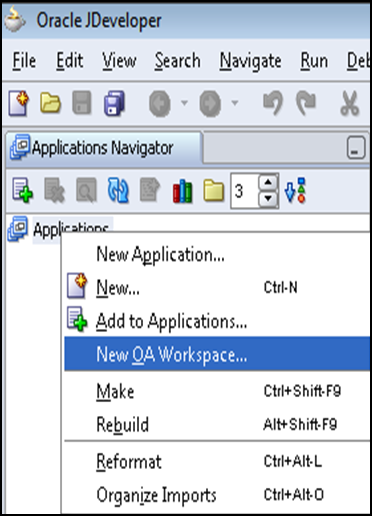
Now give the File Name for Java Work Space, for example “Welcome” as shown in the below figure:
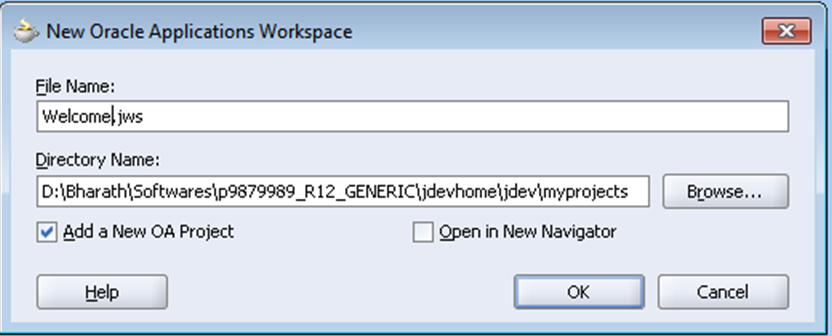
After giving File Name click on the OK button. After clicking on OK button button we can see Welcome window to Oracle Applications Project Wizard.
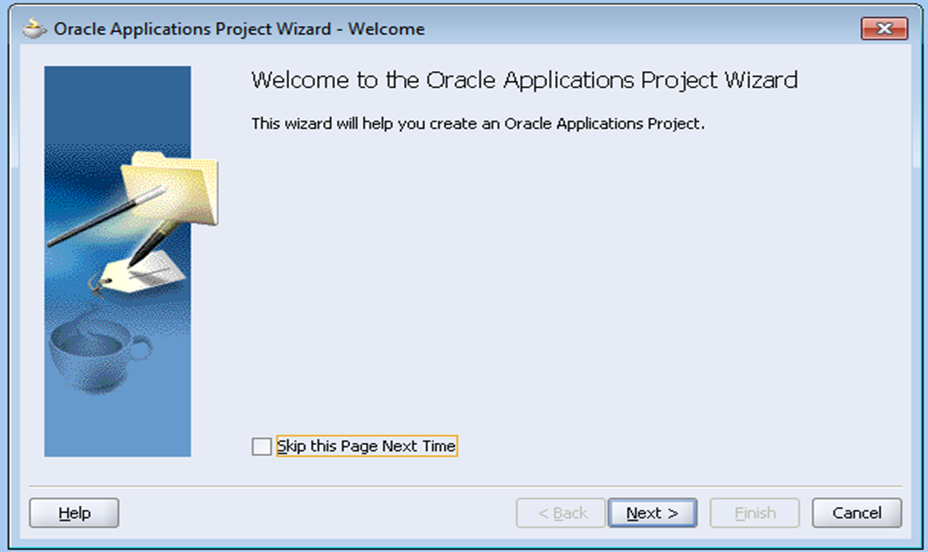
Click on Next button, then we can see a window which asks for Project Name, give the project name for example “Welcome PRJ”, Give the Default Package, for example “newtonapples.oracle.apps.po.welcomeprj.webui”.
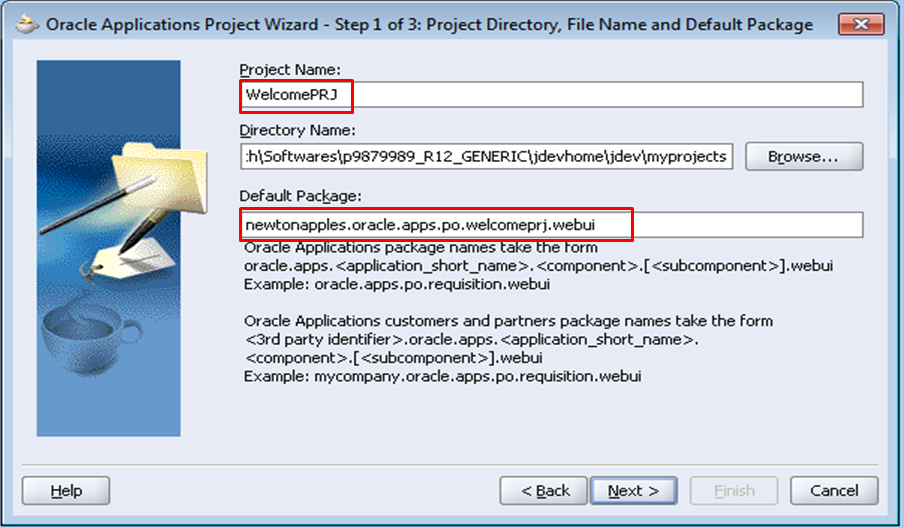
Click on Next > button, again click on Next > button then we can see. In Step 3 of 3 of Oracle Applications Project Wizard we can see Connection details and Responsibility details which we added early in JDeveloper Configuration Steps.
Click Next > and then Finish.
Step 2: After creating WorkSpace and Project we can see the +Welcome Project structure below to Applications. Extract project (Welcome) and WorkSpace then we will find three folders namely
Step 2: After creating WorkSpace and Project we can see the +Welcome Project structure below to Applications. Extract project (Welcome) and WorkSpace then we will find three folders namely
1. Application Sources
2. Resources
3. Web Content
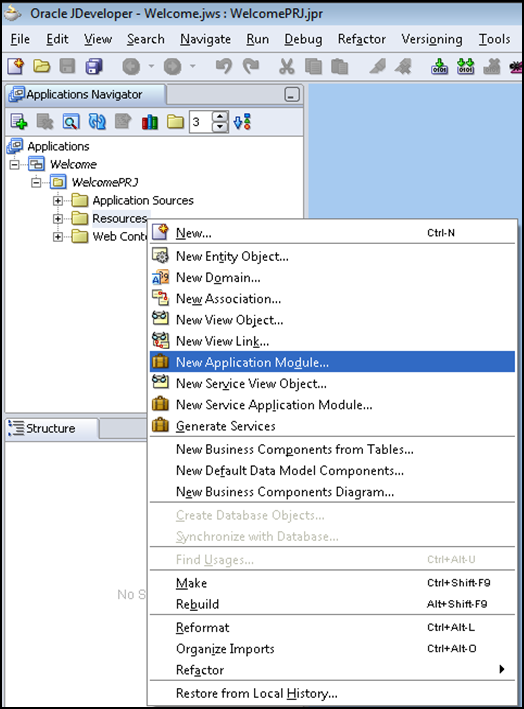
Now, Create New Application Mudule…by giving Right click on Resources you can select an option called New Application Mudule…
The same scenario is shown in the picture format:
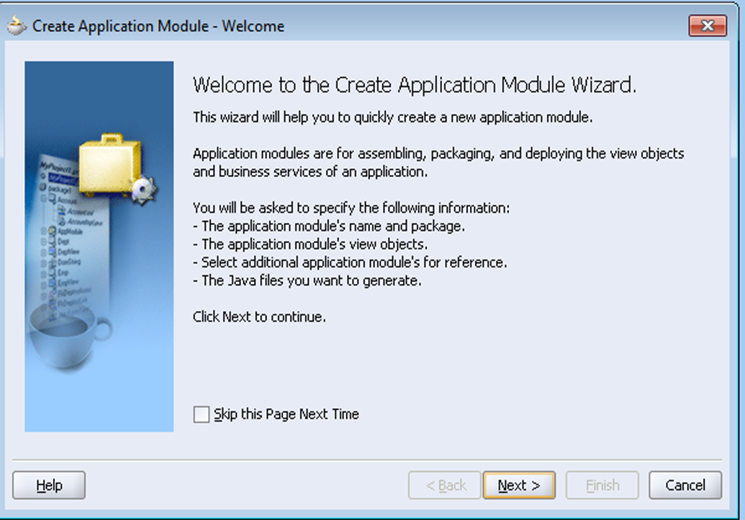
Click on Next so that we will see Create Application Module as shown below. In the below figure observe that we not yet changed the package name and also not specified the name for Application Mudule. Extends we can see in extensions chapters.
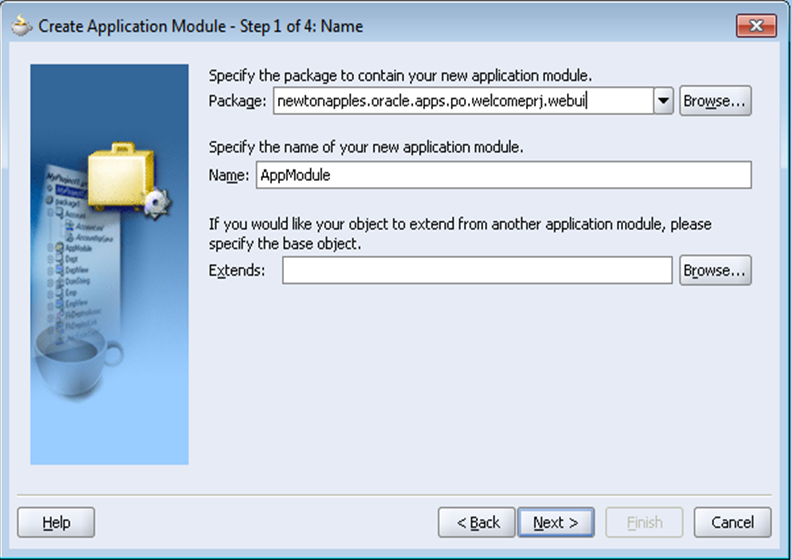
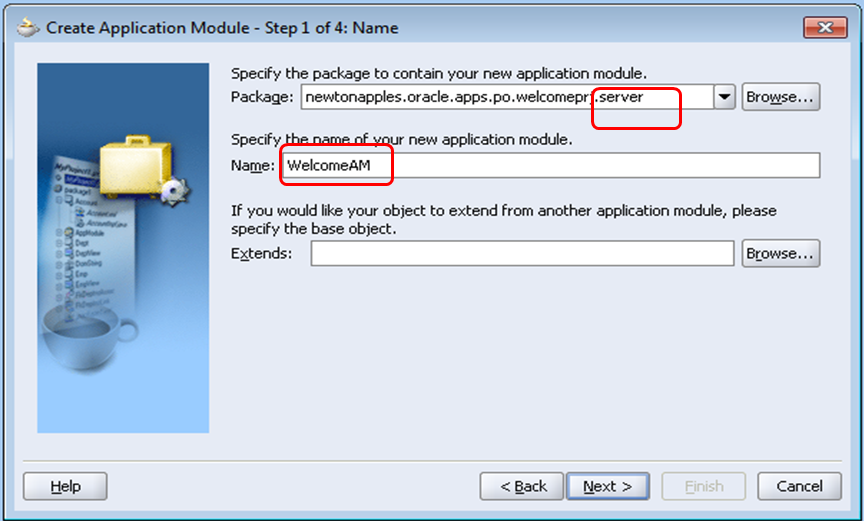
If we observe in the above figure we not yet changed the package name for Application Mudule (AM). To see the package structure we can see in the chapter BC4J file structure. So now we need to change the package name from “webui to server” and give name for the Application Module.
For example:
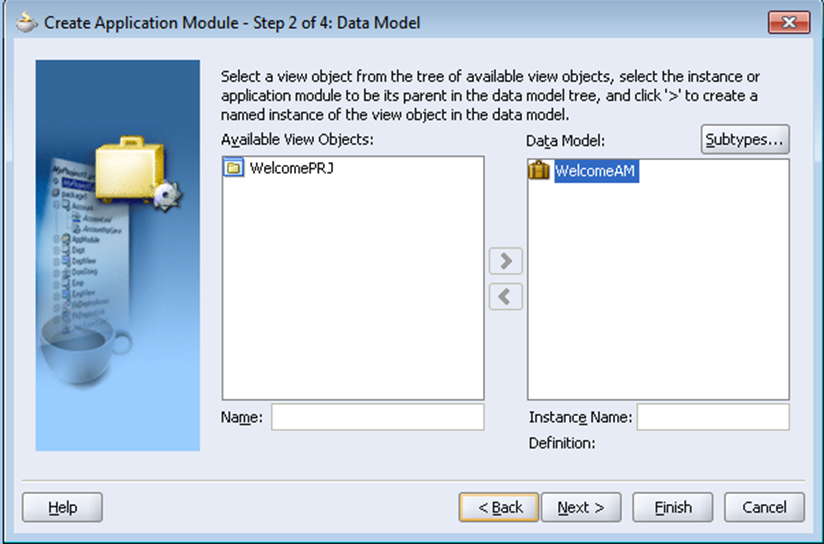
Click on Next > Button we will see Create Application Module – Step 2 of 4 window no need to do any changes here keep as it is and click on Next > Button again.
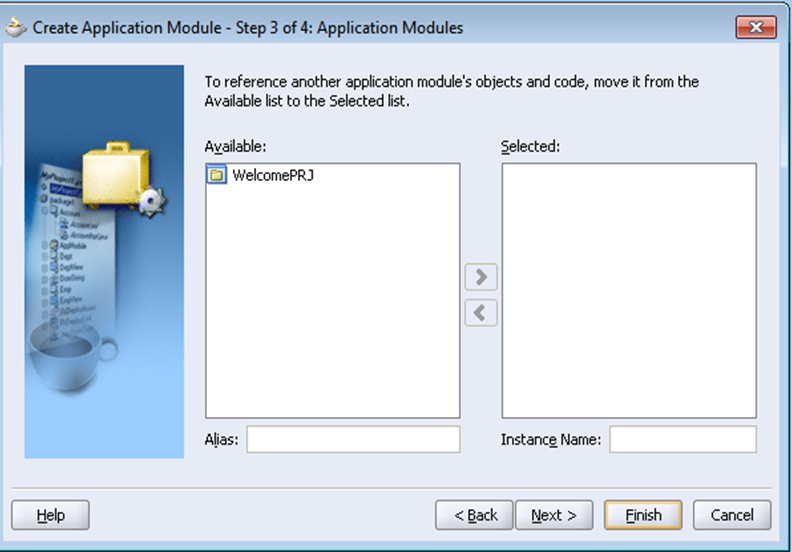
After clicking on Next button we will see Create Application Module – Step 3 of 4 window here to no need to do any changes simply again click on Next > button to move to another step.
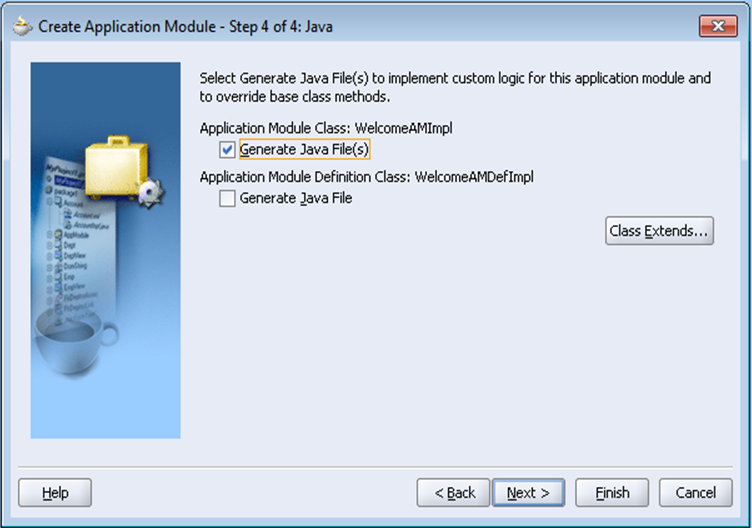
After clicking on Next button without any changes we can see the below window and make sure that Application Module Class:<nameof AM+impl> Generate Java File(s) check box must be checked. By default it is checked if not just click on the box to Check.
Click on Next > button again or even we can click on Finish button here.
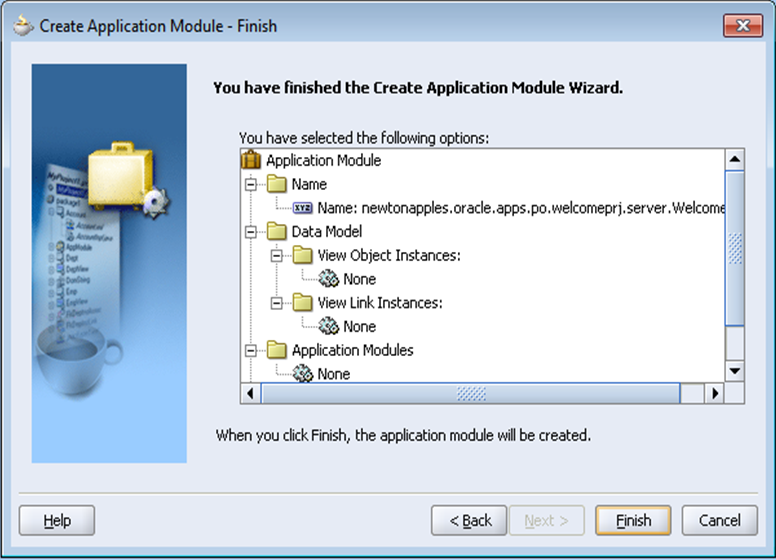
Click on Finish button so that our Application Module will be created.
Step 3: Now we need to create a page and attach it to the Application Module (AM). Let us see how to create a page and how to attach it to the AM step wise:
Creating a Page
To create a page Right click on Resources and select New (ctrl+N) as shown in the below picture:

After selecting New option a New Gallery window gets open and left side in Categories extract Web Tier and select OA Components after selecting OA Components from Web Tier select Page from Items list. The same similar kind of scenario is shown in the below figure:

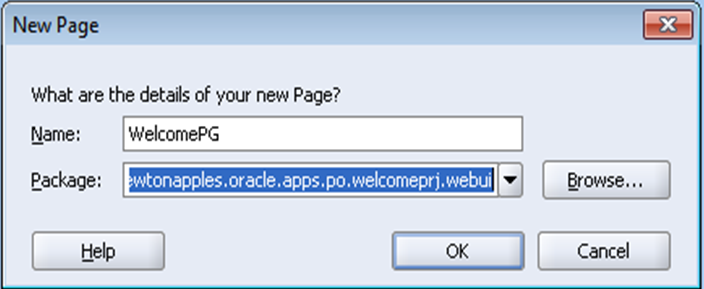
Click on OK button after selecting Page from the Items list, after that it will ask for the details of the page give the name of a page and just check the Package generally no need to change. Click on OK button after giving Name.
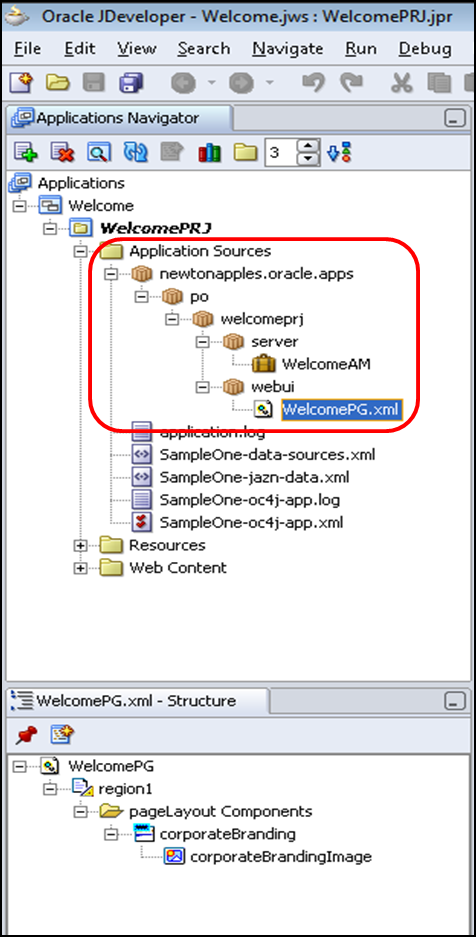
After that a page will be created with the given name. Check the Applications Navigator structure, Extract Application Sources Folder, extract the Package and also extract Project, server, webui we can see the names of AM, Page , and Project what we created, in the below figure PO is the Application short name of the -> Purchasing, Vision Operations (USA).
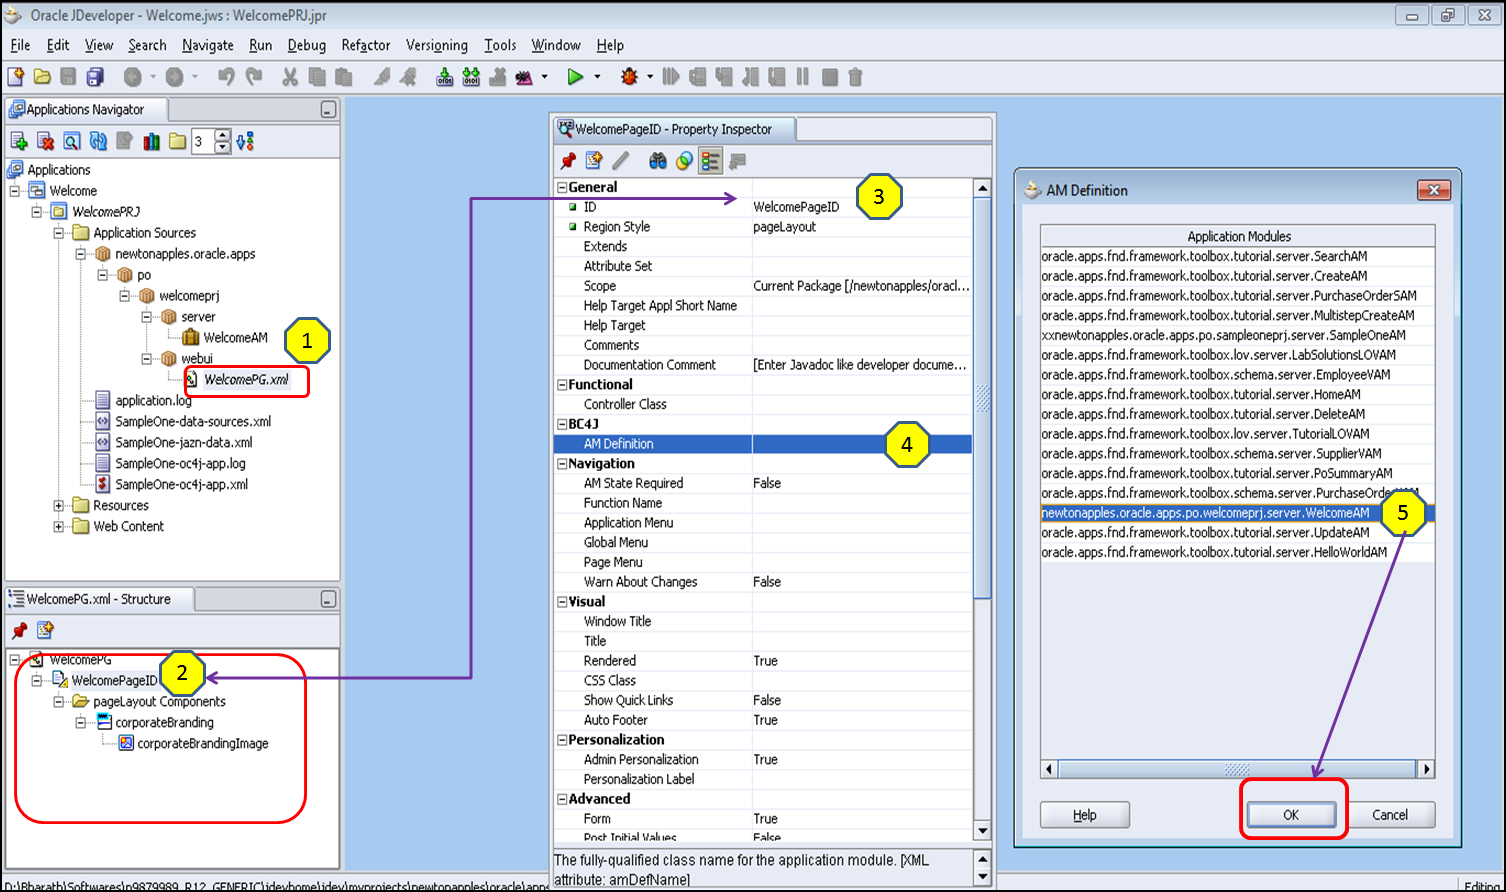
Step 4: Now we need to attach page to the AM, for that follow the following steps:
That’s it we finished the process of attaching page to AM.
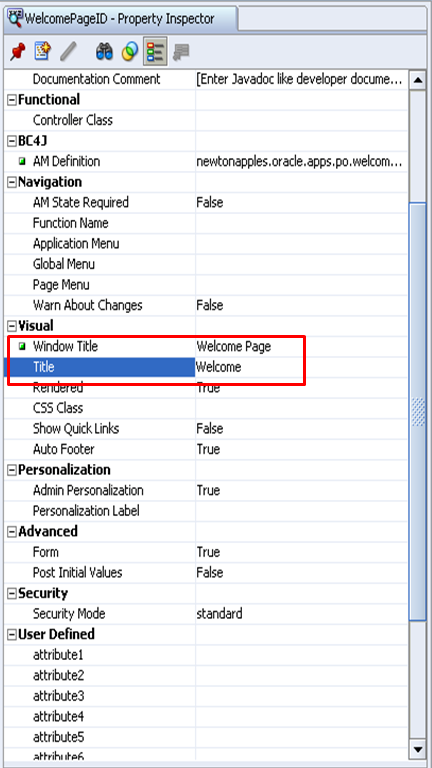
Step 5: Giving Window Title and Title of a page.
In the property inspector select Visual and in that we will find Window Title and Title give appropriate names.
Window Title in the name which is displayed in Title bar and Title Comes inside the Page.
Now the last step is running the Program to see the output for that select the .xml page name Applications Navigator and then Right Click on .xml page ( for example WelcomePG.xml ) and then later select Run (
 )option.
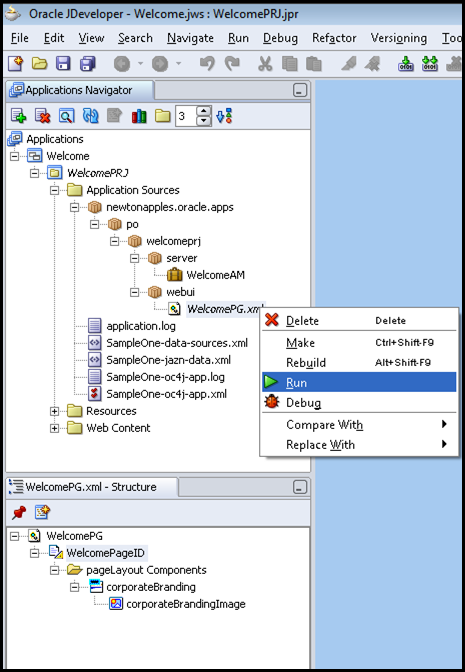
The output of our page is as follows, have a look in to the below picture:

No comments:
Post a Comment