Displaying Data From Data Base
In this lesson we are going to see how to display a data from the data base in OAF.
Follow the steps to display the data in OAF page from the Data Base:
Follow the steps to display the data in OAF page from the Data Base:
- Create the page.
- Create the VO in respective BC4J and attach it to AM.
- Create the controller and write the logicode in Process Form Request.
To create a VO right Click on the Resources Folder of the project and then select New View Object…
To see all the steps that how to create the VO we can see in previous chapter.
Write the following Query statement in VO
[sql]SELECT * FROM mtl_system_items_b WHERE ROWNUM < 101[/sql] After creating VO attach VO to AM (Application Module). Now select main page right click on the main region select New -> Region Using Wizard... 
After selecting Region Using Wizard then a welcome window will get open as shown below:
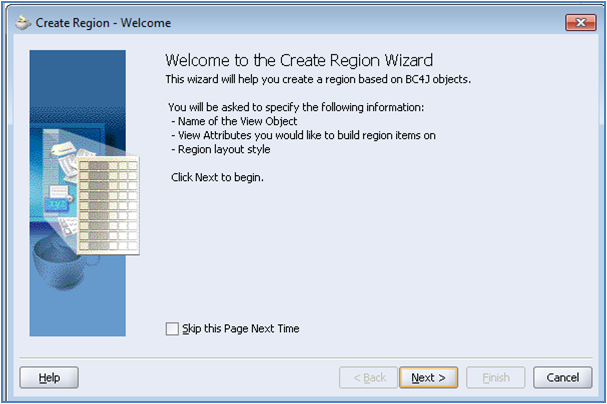
Click on Next button to see the first step:
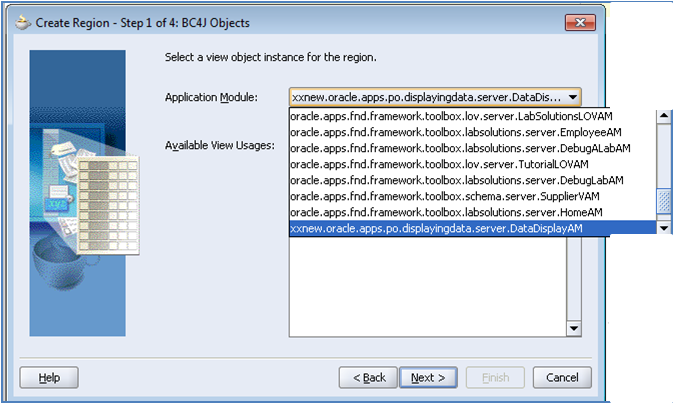
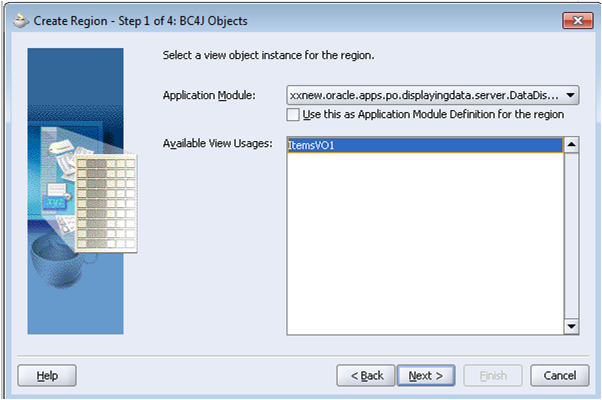
After selecting proper AM we can see the VO attached to that AM in the Available View Usages, which is shown below:
Click on Next button, in Step2 window select Region Style as “table”, the same scenario is shown in the below figure:

In the next window we will find all the available attributes and in that select the attributes whichever required to display.

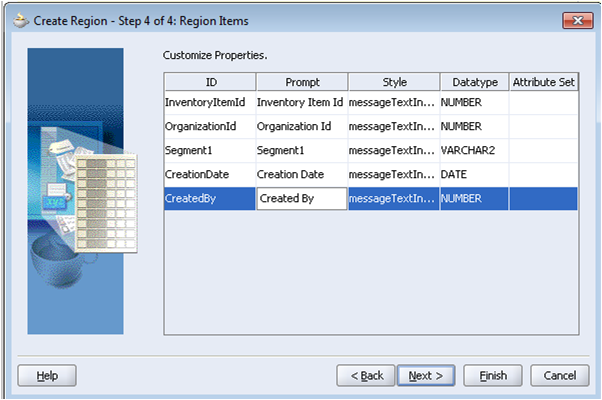
Click on Next button then we will find a window in that we can change the prompt names if required and also the style of the item we can change here we are taking all the items as Message Text input types.
Click on Next button and then click on the finish button.
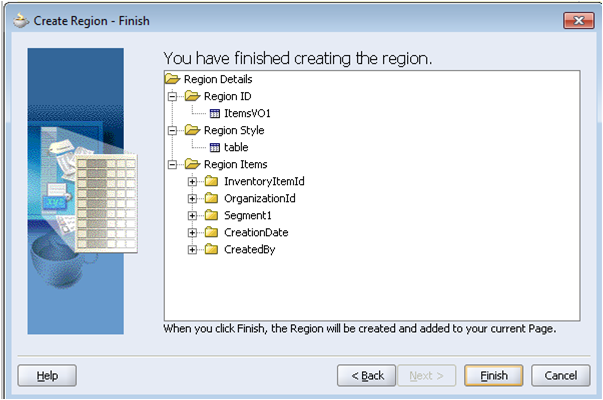
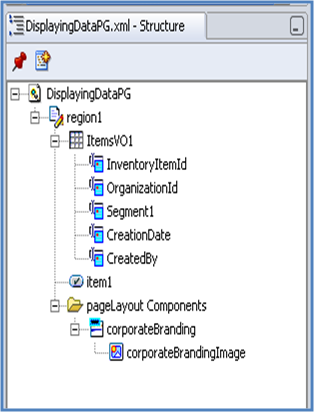
After creating Region Using Wizard now create one more item and the Item Style is “Submit Button”. So that the page structure looks like the following:
Now create one controller on the main region. Right click on the region1(Main region id) and then select Set New Controller…
After selecting Region Using Wizard then a welcome window will get open as shown below:
Click on Next button to see the first step:
After selecting proper AM we can see the VO attached to that AM in the Available View Usages, which is shown below:
Click on Next button, in Step2 window select Region Style as “table”, the same scenario is shown in the below figure:
In the next window we will find all the available attributes and in that select the attributes whichever required to display.
Click on Next button then we will find a window in that we can change the prompt names if required and also the style of the item we can change here we are taking all the items as Message Text input types.
Click on Next button and then click on the finish button.
After creating Region Using Wizard now create one more item and the Item Style is “Submit Button”. So that the page structure looks like the following:
Now create one controller on the main region. Right click on the region1(Main region id) and then select Set New Controller…
Now after creating the controller write the following code in the process Form Request.
[sql]public void processFormRequest(OAPageContext pageContext, OAWebBean webBean)
{
super.processFormRequest(pageContext, webBean);
[sql]public void processFormRequest(OAPageContext pageContext, OAWebBean webBean)
{
super.processFormRequest(pageContext, webBean);
if(pageContext.getParameter(“item1”)!=null)
{
{
/* The below code line is used to initialize the application module */
OAApplicationModule am=(OAApplicationModule)pageContext.getApplicationModule(webBean);
/* The below code line is used to initialize VO*/
OAViewObject vo=(OAViewObject)am.findViewObject(“ItemsVO1”);
/* ItemsVO1 is the instance name in AM which is the original name of the VO */
vo.executeQuery();
}
}
}[/sql]
Rebuild the code, run the page and see the output:
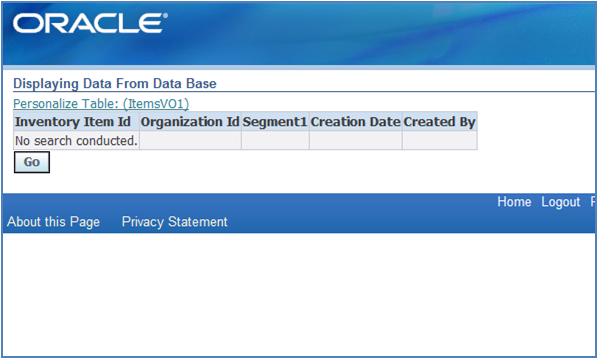
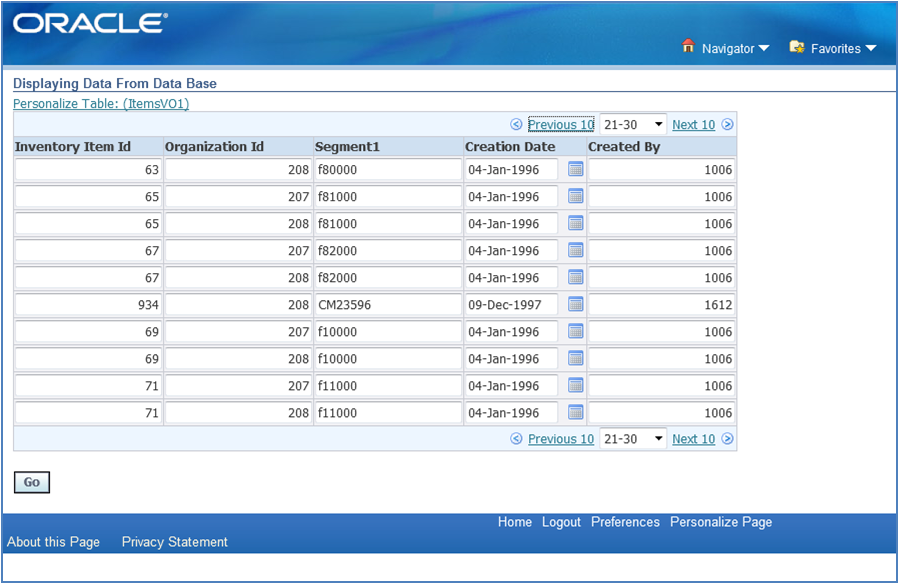
Click on the “Go” button so that it will display the records as shown below:
Rebuild the code, run the page and see the output:
Click on the “Go” button so that it will display the records as shown below:
No comments:
Post a Comment