Message Text Input
In this chapter we are going to learn how to create Items and we will see some items in the OAF page how they look.
We already seen in previous chapter that how many items are available and how to create a item.
Here we are going to see different types of items in OAF how they appear in the page.
Creating Message Text Input Item:
The Message Text Input items allows users to enter some text value by the user. For example in mail id User Name, password we will find some text to enter and those kind of items here in OAF are called as Message Text Input items.
First create one project and create one page under the main region create one “Message Component Layout ” region.
 Creating new region in OAF
Create two Message Text Input items under Message Component Layout Region and give prompt names to each item.
To make the item required one in the Property Inspector select showRequired and make to True so that the items become required field.
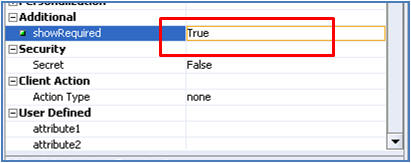 Making Field Item required in OAF
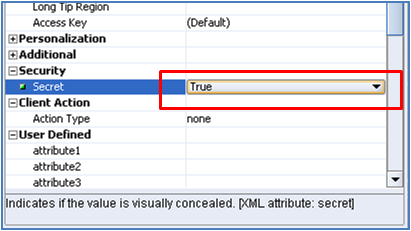
Now for the item if we want the text in disable mode like the way we usually see while entering Password the text appears in dots rather than displaying text. In OAF for that feature, select item and in Property Inspector select Security -> Secret.
By default it sets to False make it True.
 Hiding text like password in OAF
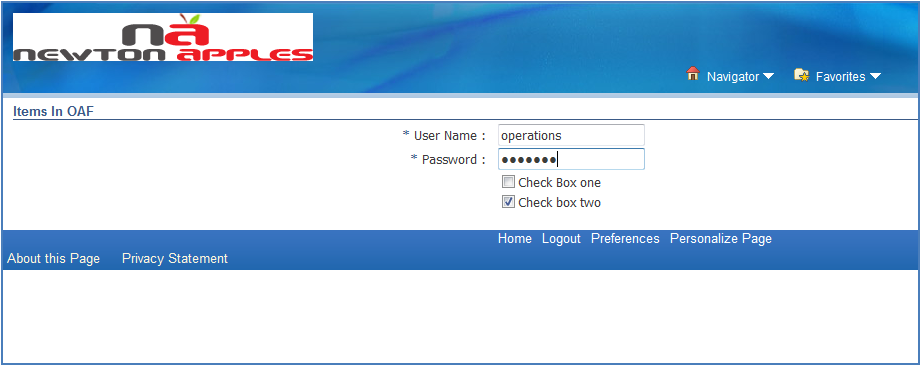
Run the page and see the output, the below figure shows the output which shows the Message Text Input items what we created:
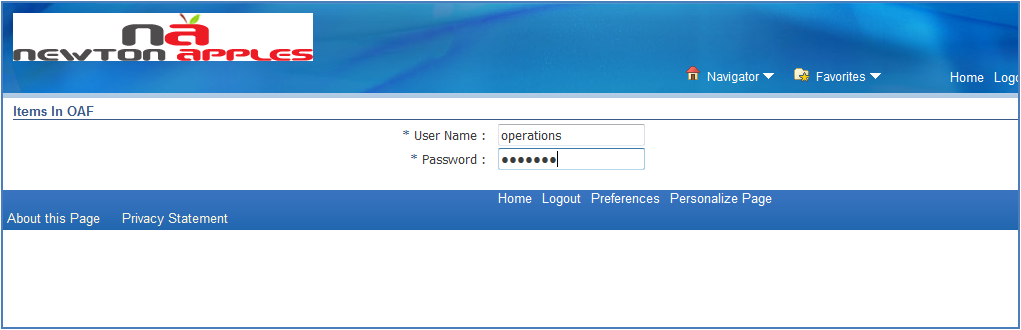 OAF message text inputlogin page output
 Message Styled Text
In previous lesson we have seen the usage of Message Text Input which allows users to enter the text. Now let us see how the Message Styled Text appears.
If we want a read only text in OAF output page then we can go for an item with Item Style as Message Styled Text.
First create One Region (Message Component Layout Region) and then now create two items.
Select Item Style as Message Styled Text in Property Inspector (or) if we are using Message Component Layout region then select New -> MessageStyledText.
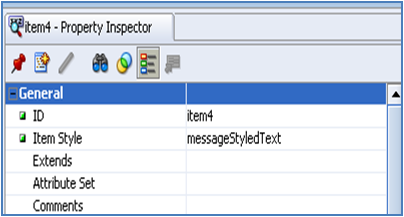 Property Inspector of Message style text
Create two items for example and give some prompt name. Run the page and see the output:
 Message Style Output
 Message Check Box
Let us learn how to create Check Box items in OAF.
Create two items under the region and select Item Style as “messageCheckBox”.
For the Message Check Box check the Property Inspector and we have some features like as follows:
Data:
Initial Value : Assigns a default value give this value to “Y” so that the check box will be checked by default.
Checked Value : This values will be assigned whenever the check box is checked.
Unchecked Value : Value when the item is not checked.
Initially Checked : If we want a value to be checked initially (automatically) then make this value to True.
The following figure shows the Default Data values for the second check box with prompt name as “Check box two”.
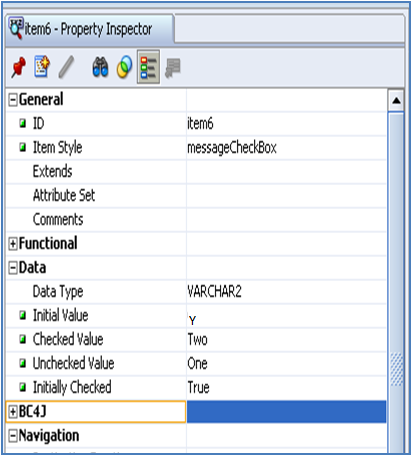 Property Inspector of Message Check Box
Run the page and see the output here we will see other items too in the below figure along with the Check Box items.
Message Radio Button
In this lesson we are going to learn how to use Radio Button items in the OAF page.
We can create individual Radio Button items in the page as a named set with mutually exclusive values. It means we can place radio Buttons where ever we require in a page but if we provided a mutually exclusive name to all those radio button items then only any one will be checked.
Let us see one small example how to create a Radio Button Items in the page:
Step 1: Create a page and create one Message Component Layout region in a page. Under the region create four items and select the Item Style as “messageRadioButton” . Example see the below figure:
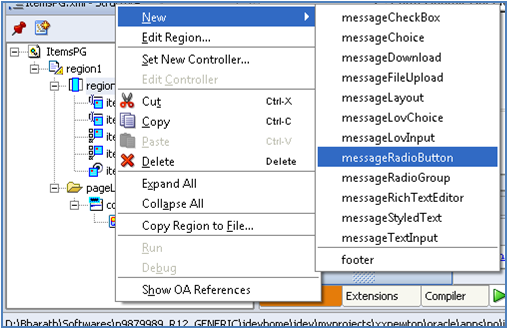 Creating Radio Button Item in OAF
Step 2: Now after creating Radio Button items give Id values to each items created and assign Prompt name which ever you wish to display for the radio button.
Step 3: Set the checked value and unchecked value to each radio button in the Property Inspector.
Step 4: If we want radio buttons to behave as a group then we must programmatically assign them all the same name by calling setName() for each radio button.
First create one controller and write the program in the processRequest().
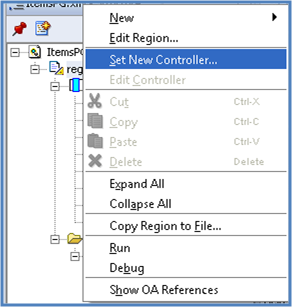 Setting New Controller in OAF
Remove one webui from the package name and give controller name and note that every controller ends with CO (general standard).
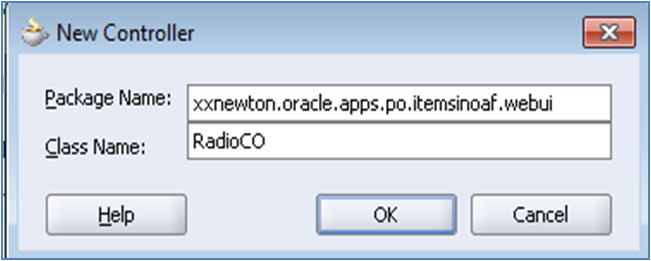 New Controller Package Name in OAF
Write the program in the processRequest(), here I am not providing any access to the code to copy and paste it in the JDeveloper because whenever we write the code we need to import the package in the program which we can get automatically from R12 series on wards.
For example whenever we are typing “OAMessageRadioButtonBean” then JDeveloper prompts us to use “Alt-Enter” to import the required package. So as of now it is better practice to type the code rather than copy and paste.
We already explained the concept of programming in previous Chapter (Displaying User Name, User ID, Responsibility Name, Responsibility ID).
The below figure shows the written code in the processRequest():
 Program to validate radio button
Now after righting the code rebuild the code by giving Right click on the program select option called Rebuild.
After successful compilation of program run the page and see the output, if we test the output radio buttons we can select any one out of four available items because we set a unique names to all the items in the program using variable Name . (dot) setName() method. See the code in above picture for confirmation.
The below figure shows output of the program which shows additionally other items too rather than radio buttons:
 Radio Button Output in OAF
 Message Choice
In this lesson we are going to learn how to create Message Choice item in the OAF page.
The bean for message choice item is “OAMessageChoiceBean”.
Step 1: First create Item in the page and select Item Style as MessageChoice in Property Inspector.
Step 2: After creating the page create the VO (View Object) in respective BC4J and attach VO to AM (Application Module).
Creating VO process:
Right Click on Resources folder of project and then select New View Object… as shown in the below figure:
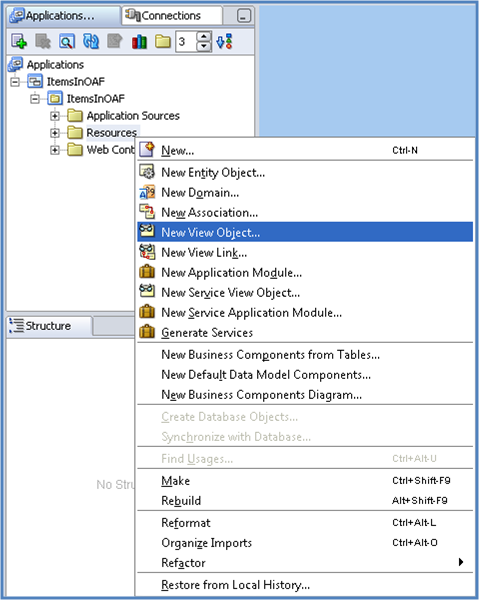 Creating New VO in OAF
After that a welcome page to create a View Object wizard window will open as shown below:
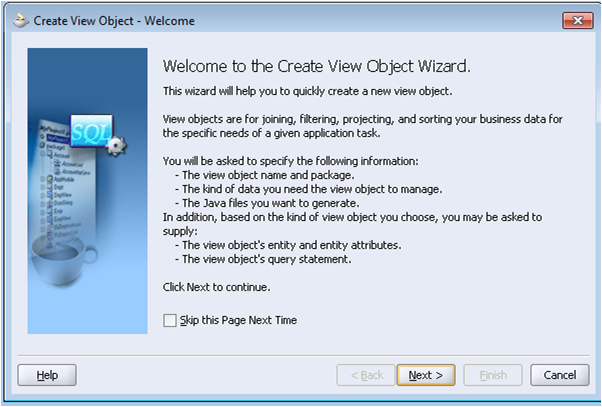 welcome page of VO in OAF
Click on Next button so that first step to create a VO will come and in that :
Package : Select the proper package name which we created for a project.
Name : give the name to the VO note that all the View objects ends with VO.
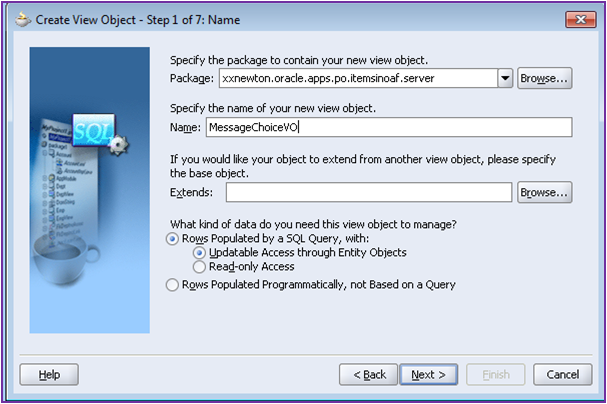 Step1 of VO in OAF
Click on Next button:
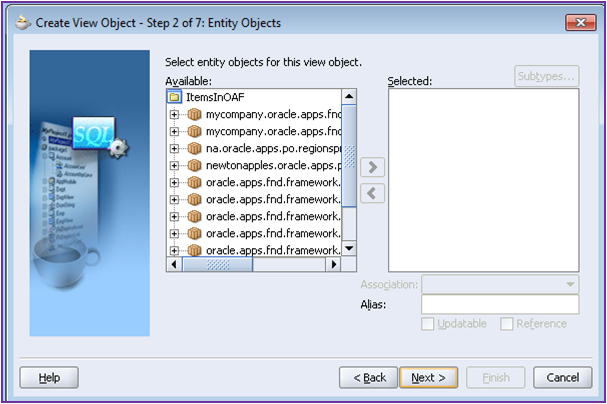 Entity objects of the view object
Click on Next Button, no need to select any package or attributes here:
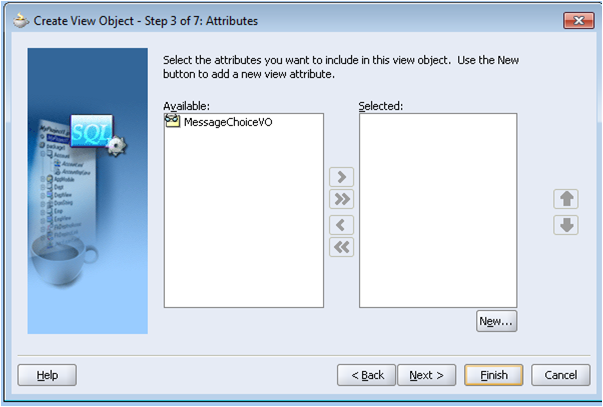 Selecting VO attribute in OAF
Click on Next button without any changes:
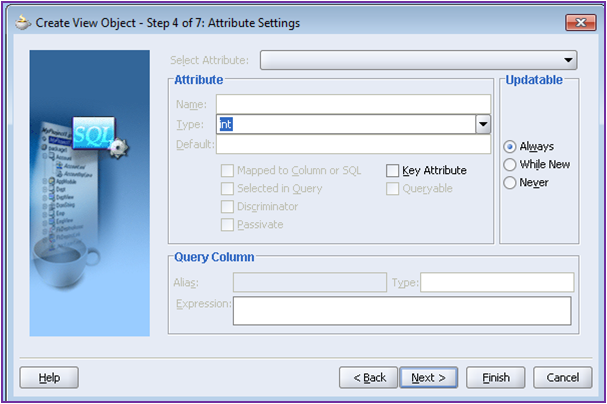 step4 screen of VO in OAF
Click on Next button without any changes so that we can see the Query area to enter SQL query to retrieve the data, write the SQL Query in the Query Statement
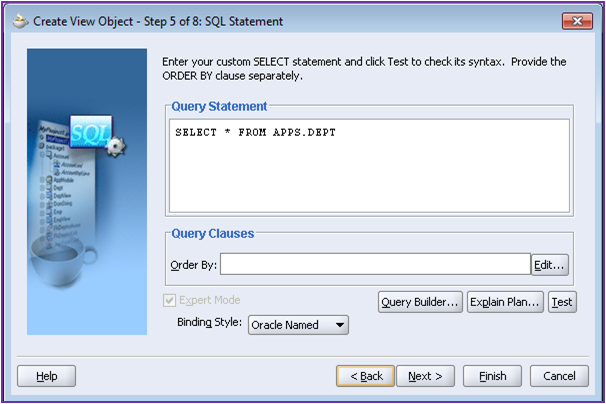 Query statement in VO of OAF
After writing the Query statement check whether the written Query is valid or not by clicking on Test so that if the query is valid then it shows a message that Query is valid. After that click on Next button.
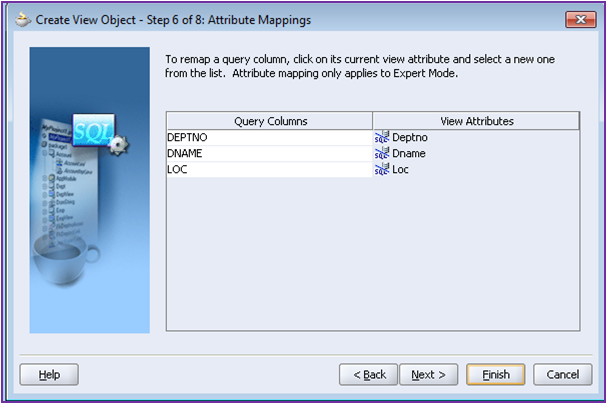 Attribute mappings in VO
Click on next button to step 8:
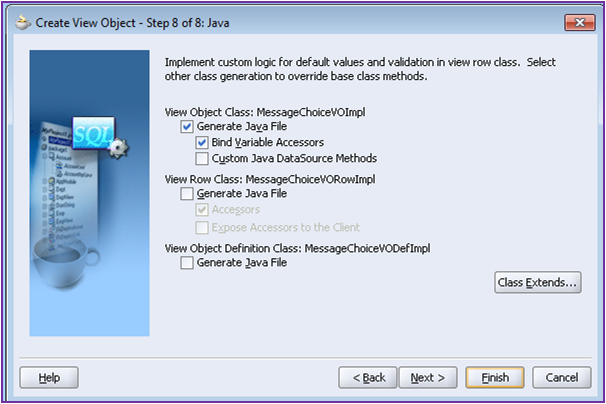 last step in creating VO
Click on next button and click on Finish button:
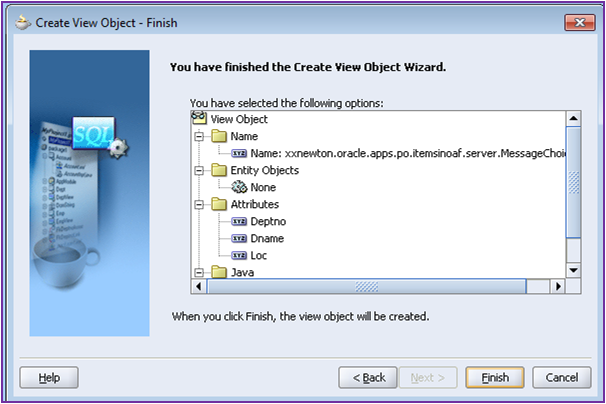 Finishing creation of VO in OAF
After creating VO (view object) we need to attach VO to AM (application Module). Let us see how to attach VO to AM:
Attaching VO to AM:
Edit the AM which we created in the project, right click on AM and then select Edit <AM Name> as shown in the below figure:
 Attaching VO to AM in OAF
Select Data Model, extract the package in which VO is created select the VO after selecting the proper VO click on the Greaterthan arrow symbol which is shown in below figure:
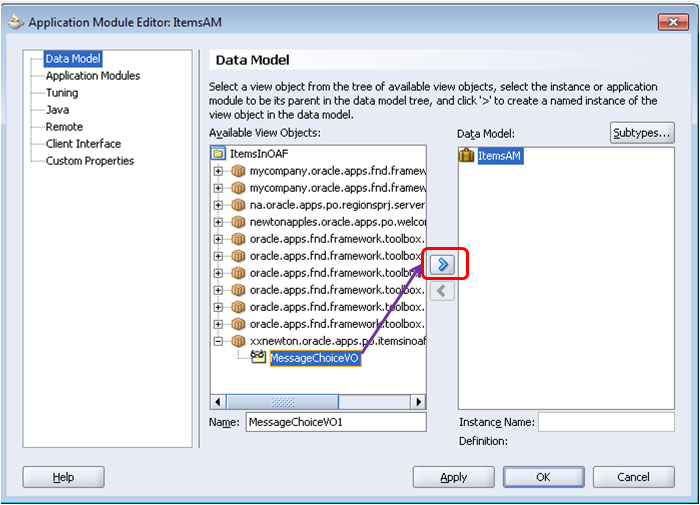 VO attachment to AM in OAF
After that we can see the VO is attached to the AM as shown in the below figure:
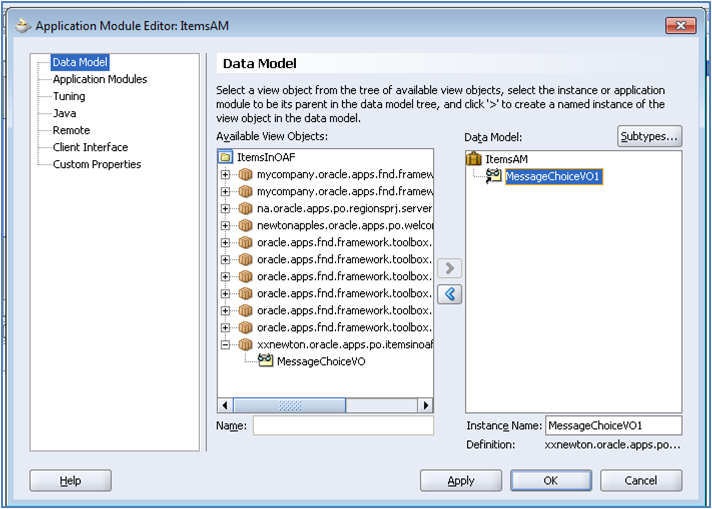 Attaching VO to AM
Click on Apply button and then on OK button so that the attachment process of VO to AM is over.
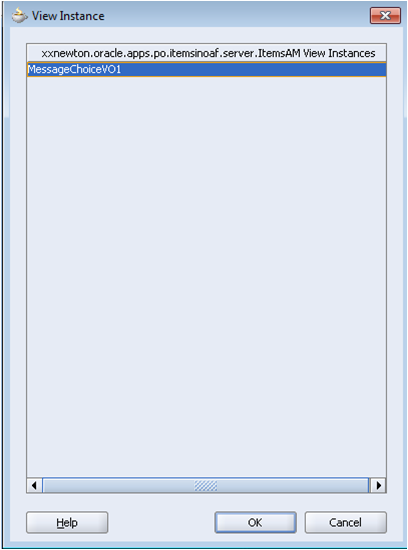
Step 3: Select the item properties in that do the following:
 Attaching View instance in OAF
Picklist View Instance : Give the VO name
View Instance : Attribute Name, the displayed list values. (Column Name, in VO columns are converted into attributes).
 Attaching View instance
View Attribute : Attribute Name
 Attaching View attribute in OAF
Now run the page so that we can see the output with drop down list to pick some values. The below image shows the output of Message Choice along with other items in OAF page.
Note that a drop down list can handle a maximum of 200 values.
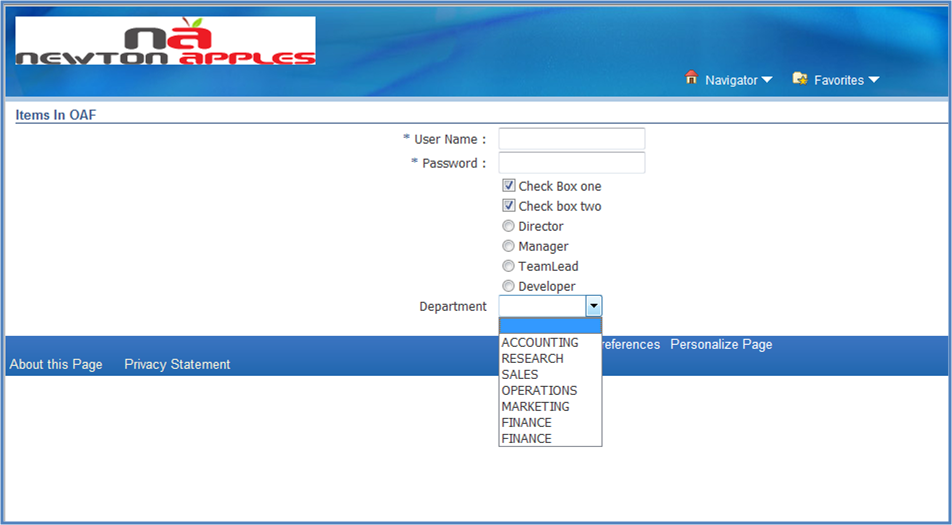 Message Choice Output in OAF
 Submit Button
In this lesson we are going to see how to create submit button in OAF page.
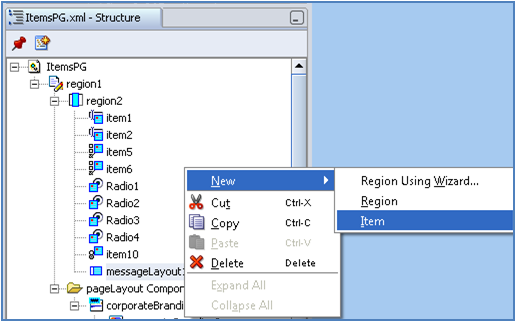
Here in this lesson we are going to see how to create Submit button Item in Message Component Layout region, note that we cannot create Submit button directly in Message Component Layout Region for that first we need to create Message Layout as shown in the below figure:
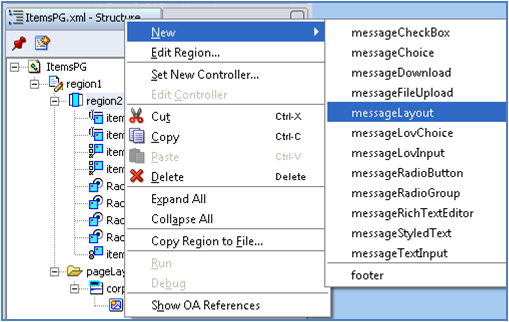 Message Layout in OAF
After selecting Message Layout item under that Item create one more item as shown in the below figure:
 Item in message layout OAF
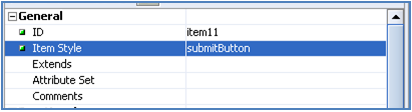
After creating Item under the Message Layout item select the Item Style as “submit Button”.
 Submit button in OAF Property Inspector
Give prompt name to display on top of the button example “Ok”, run the page and see the output:
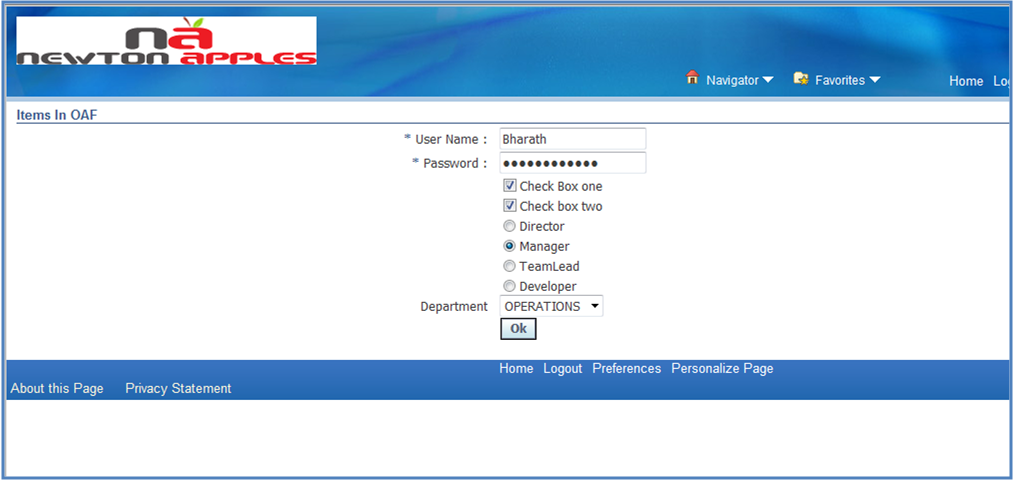 Button item output in OAF
 Message Rich Text Editor
Let us see how to create Message Rich Text Editor in OAF.
Rich textEditor Item style is deprecated to <Message Rich Text Editor>.
create item and select the Item Style as message Rich Text Editor.
Run the page to see the output . The below figure shows the Message RichText Editor with prompt as “Address”.
 Message rich text editor in OAF page
 Image Item
We already seen that how to create a Image in OAF page in previous lesson.
In this lesson we are going to see how to create Item in Message Component Layout region.
Directly we cannot create Image item in Message Component Layout Region, so therefore first we need to create Message Layout item.
The below figure shows the Image item property Inspector under the Message Layout region:
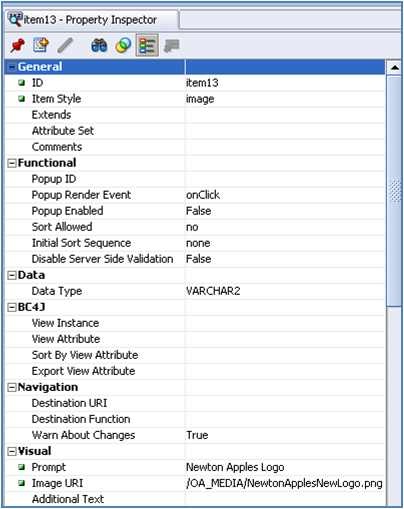 the Image item property Inspector under the Message Layout region
In the Image URI give the path of the image which you want to display. Run the page and see the output:
 Image item output in OAF
No comments:
Post a Comment